Showing posts with label hike. Show all posts

Saturday, March 26, 2016

An Aerie Hideaway: The Eagle's Nest Cabin


It's a well known fact that if you buy a new motorbike it will rain for weeks.  Finally, we've had two rain free days lately and I was able to get the new Beta Xtrainer out for a blast on both days.  I met Ryan and Eric at the Wastelands track yesterday for a half day of log jumping and general blasting around, and today I went for a solo ride to find the Eagle's Nest Cabin off Bonnell Main logging road.  Big "thank you" to John N. for pointing this location out to me last month.

John had suggested that I try the route in from the top, (walking in from the N.E.), and so this is what I did.  Here's my route map:

Click to Enlarge
1.  Entered at Harwood Drive.  What a hilarious mess they have made of the usual way in.  The place is looking like The Maginot Line with its newly dug deep trenches.  I thought I was completely hooped until I rode down to the yellow gate at the very end of Harwood to find the walk-in entrance has been widened enough to get a Gold Wing through.  I guess they're fighting trucks only these days.

2.  The road in has been graded heavily once again.  The hilly section has a wide variety of rock sizes from large boulders to scree.  Fun ride up, although a little creepy on my new bike which is still a little too high for my stunted Welsh/Scottish legs.

3.  Leaving the Lanzville trails, I took a right turn onto Bonnell Main.

4.  Keep left and leave Bonnell Main and stay left at the next intersection nearly 200m ahead.

5.  You can go either way here.  A right turn will lead up a rocky road which eventually reaches a Y intersection.  A small quad trail begins between the branches of the Y and this will take you up to the back of the cabin.  It's the standard way in, although as John had mentioned to me, the road is quite rocky and the quad trail is steep and rooty.  It's quite do-able, and is likely the better way in, even if you're faced with walking.  A left turn will take you to a dead-end spur road (6) where you begin a 600m uphill hike to the cabin.  (A waypoint for the cabin and this track is available at Wikiloc).

UPDATE (Paul): I dragged Andy back to the cabin on April 2nd via the quad route above (Small Quad Trail).  I rode up the small quad trail which was much easier than it looked.  What was interesting was after visiting the cabin, and starting to ride back down this route, we saw a truck coming up from the south...

UPDATED AGAIN (Paul).  Wednesday, Ap 6th: Tried the "Unknown Large Truck Route" that heads southeast.  I approached it from the South, about a km after Kidney Lake.  Initially it was easy, but soon got into some large river rock like boulders that you would find in a creek bed.  The reason became obvious shortly after that.  I turned a corner and the road became a serious hill climb with river rock and wet rock outcrops which make traction very hard to acquire.  I tried to surmount the hill 4 times, and each time got stopped at a wet rocky outcrop.  It will be doable when dry, but still a challenge.  Good fun though.You can see the route in purple on Andy's updated map below.


UPDATED AGAIN (Andy):  John N. very kindly sent me this track that spells out the route coming in from the SE side.  I believe this is the route he meant when he originally told me to approach from the top side.  The trail begins about 1.2 km north of Round Lake.  Another possible cabin appears on the screen capture below.  Good for an upcoming ride!  (found it-click me).


6.  Park the bike here and proceed S.W. on foot.  Not a great hike and not the preferred route!  Directly ahead of you are a couple of marsh areas which are easy to get around if you don't mind clambering over a couple of hundred metres of downed trees. 

7.   From here there are a number of animal trails that make the going a little easier until they peter out and you're left with an uphill slog through more rough terrain.  As you continue upward, you'll see a rocky outcrop covered in moss--the cabin is perched on the flat top, (although it won't be visible yet).  Riding boots are a poor choice to attempt climbing this rock and more suitable walking/climbing boots would be worth the carry in.  You won't have much of a climb if you navigate carefully through the trees.

8.  After a final short climb up a heavily moss covered rock, you reach the front side of the Eagle's Nest cabin.  It's a small (perhaps 10' x 15') cabin with a framed plywood floor and upright log poles to support metal siding material.  It's nothing fancy, but it's well enough constructed to keep a few people warm for the night.  There's a small wood burning stove inside and water is supplied by a small rain-filled tank.  (Advisable to use water purifier pills since I doubt anyone gets up there to shock the tank with chlorine).  Bring in some ice if you want to use one of their ice coolers.  It looks like people really respect this place, at least the last visitors did.  It was clean, tidy and well organized.  A guest book is on the table.  There's an outhouse and a covered area for dry wood.  Four wooden lawn chairs surround the fire pit.  Some a-hole left beer cans scattered about the fire pit.  Please carry out your crap if you decide to use this open invitation cabin! 

9.  Having never tried the other way in, I walked down the quad trail for a distance to see what it's like.  Quite doable in dry conditions, although rooty and fairly steep in some sections.  (Didn't walk it all).

10.  After hiking back down the way I had come in, I took a quick ride along the alternative route.  I stopped where the road began to steepen and get rocky.  Still do-able at this point, but I wasn't ready to start bouncing around too much with this being a solo ride.  I turned around since I'd seen the cabin already.  :)

11.  Rode back along Bonnell Main and passed the entrance back into the Lantzville foothills with a plan to exit the logging roads via the "tank traps."

12.  Holy road changes.  A new road punched in near the tank traps made this intersection completely unrecognizable.  I thought I might need a left turn because I was getting close to the traps, but took a right to see where it went.  The road became familiar very quickly and was clearly the route towards Boomerang Lake.  I turned back.

13.  Took the left turn (location 12) option and rode along a new logging road.  This is the road that is now visible from the tank traps when approaching from the Doumont side.  I continued along here until the road stopped and turned around to try what appeared to be an obvious route towards the tank traps area.

14.  It was just what I wanted and soon opened up into the trail we have been calling the "Tank Traps Alternative."  The trail joins, (as it did before), the familiar route up through a round-rock riverbed towards Weigles Rd. and Doumont/Biggs.

15.  That's all I have for today.  It was an excellent solo ride on my new Beta Cross Trainer!

Video of the ride down from the cabin using the quad track to the "T Junction".  (Make sure you turn the Res up  to 1080p and watch it on YouTube for better quality.)


   Elevation Track

Google Earth Flyover of the Route


The End of the Road:  Hike Begins S.W. Towards the Cabin

 First View of the Cabin When Approaching from the top N.E. Side

Front and Side of Cabin.  Two Windows on the Right Side

Panoramic View:  Fantastic View of  Nanoose Bay from Up Here!

Christmas ALL YEAR at the Eagle's Nest Cabin

Front Sign

Looking in from the Front Door

Looking Back Towards the Entrance

The Wood Pile and Outhouse

The Back of the Cabin from the Quad Trail Leading Down

Enjoying the View of Nanoose Bay

Zoomed In on the View

I Liked it so Much, I Took Another

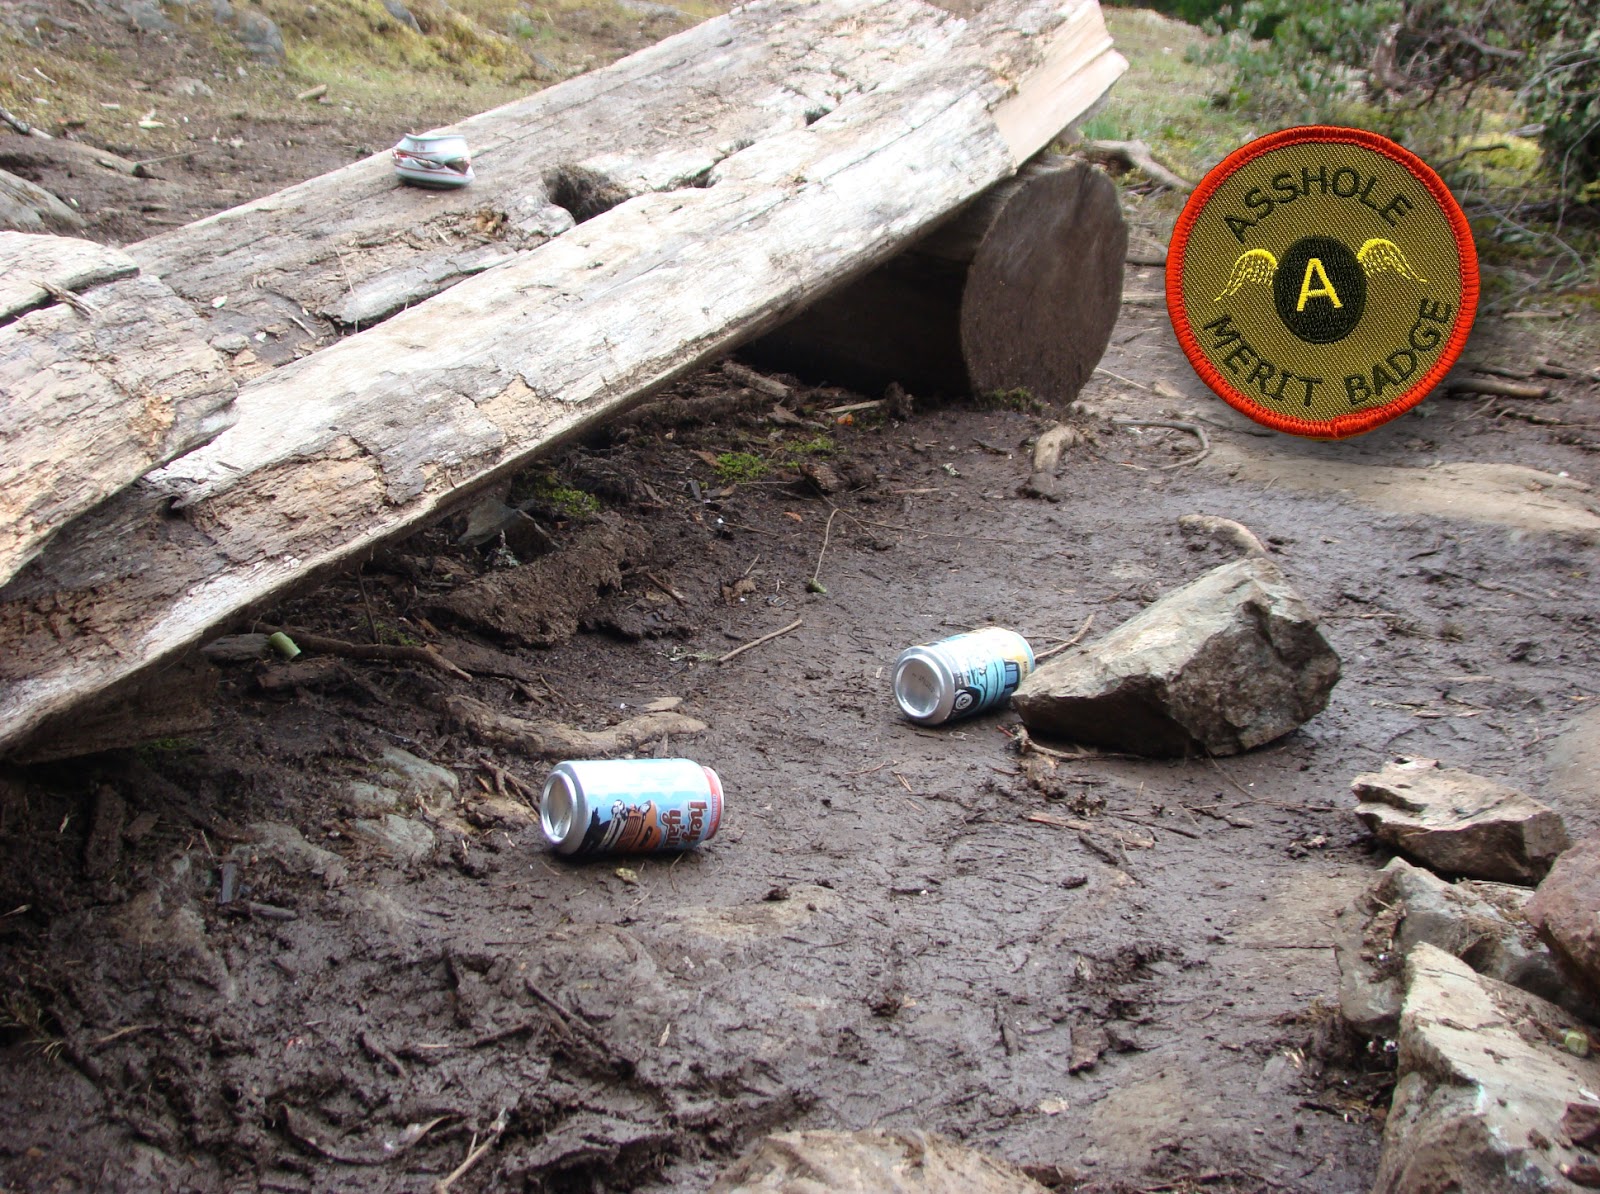
Please Pack Out Your Garbage

Thanks for the Visit, Eagle's Nest People

Track available here at Wikiloc:

Saturday, August 16, 2014

Getting to the Back of Ammonite Falls (West Upper Side)

This was intended to be an addendum to my last post where I tried out a few iPod apps that I'm using to create time lapse videos of rides.  I thought I'd begin a new post because the directions to Ammonite Falls' west side might be useful for some visitors.  In addition, I get to plaster a new blog right on top of Paul's obviously superior time lapse creation below, crushing it and rendering it completely ineffective and impotent!

Many people hike in to see Ammonite Falls from it's east side, coming from the Jameson Rd. entrance where you can park at the road's end and hoof it along the foot trails.  Another way in begins off Weigles road, through a yellow gate very close to the Wastelands MX track.  This entrance will take you to what most consider to be the back of the falls on the west side.  You arrive at the top of the falls, rather than the bottom, where the Jameson Rd. trails take you.  After a short ride from the Weigles yellow gate, you need to park and hike the last few hundred yards to the falls.  If it's wet, be warned, the top of the falls are very slippery and there's nothing but nasty pointed rocks to catch you at the bottom!

Here's the GPS track and a quick overview "flyover" movie of the route:


Now, for the time lapse video using the app "Timelapse Camera HD"


I'm not sure I'm going to find the speed and clarity I'm after at this rate.  I'm waiting for Apple to update the iOS for my iPod, (ver 7.0), in the hope that I can go back to using my original app, although it was no real winner to begin with.  Just want to get the speed down.

[Edit, Aug 20th]  I managed to get an older version of Time Lapse running on my iPod.  (That's the original app I was using that I had more success with).  This is the only one of these apps that doesn't mind running close to real-time speeds.  It will allow you to choose the playback speed as low as 1x (normal playback), 2x, 3x etc, up to the usual supersonic, flower blooming speeds that the rest of them do so well.  The results are far better when played back at 4x or 5x because you can actually follow along and see where you're going!  My "auto white balance" was playing games with me on this next video.... Some dark patches.

So, here's the vid:  Almost the same footage as before, just a bit more footage at the end.


Still a bit clunky, but not bad for an app running on iPod.

Tuesday, August 12, 2014

Back to Find Mt. DeCosmos' Summit


Poor quality pano from the top...1st and 2nd Lakes 4000 odd ft below...(Click to enlarge all images)
We were up on the Mt DeCosmos roads around mid-July for the second time when we rode up the second lower summit as far as roads would take us.  Not enough--we've wanted to get right up to the summit and look over the other side at the Nanaimo Lakes for quite some time now.  So, this was today's plan:  Follow much of our July route and hike to the summit.

The route:


1.  Entered the Lantzville Foothills roads through the Harwood Drive Workaround and followed the beaten path to Bonnell Main (Sundew Main)
2.  Left turn to join the main logging roads (Bonnell)
3.  Round Lake and Kidney Lake area
4.  Left onto Branch 142 towards Boomerang Lake
5.  Right turn after Boomerang
6.  Turned right on the "Power Line Trail"
7.  Exit left towards Mt. DeCosmos (see photo directly below for additional details).
8.  Through "ThE HeLLeVaToR" trail... (bwaaaaahahahaha), then turn left on DeCosmos roads.  (Actually, the trail leading towards the "Hellevator" suits the name better.  We've tamed this hell spawn wannabe--little softy satanic trail that it is....pffff).
9.  End of second summit road.  Parked and turned left to hike up the slope to the top.
10.  Not a bad hike.  We had to stop a few times to catch our breath, but it was fairly easy going for the most part.  Bring water! 
11.  Stopped for a while at the transmitter that sits at the summit.
12.  Lots of trees to hike around to find the good viewpoints of the Nanaimo Lakes.  We found a couple of rock outcrops that get past most of the trees.  Photos below ;)
13.  Retraced our steps to the Alternate Tank Traps.  (This route has recently become usable again after two recent dig up sessions by the logging company)  Works for now, but get in quick folks, because when they find out...
14.  From Doumont to the Black Bear Pub to celebrate our victory!

Some additional details for left turn at location #7

Colour Coded Altitude Track:  Range = 103.5 m to 1331.6 m (339.6 ft to 4368.77 ft)  
Google Earth Screen Capture Showing Elevation Profile (Click for Better Detail)


Here's a GoogleEarth flyover video of the route.


Here's a "fly on the map" 100x animation of this track.  I left the GPS sitting a couple of times, so you'll have to be patient with the occasional 100x wait.  ;)


Looking Back Towards Okay Mountain from DeCosmos 2nd Summit

Transmitter

Some guy who was working on the transmitter

Looking SE towards First Lake
Clearer View:  SE Towards First Lake
Looking NE Towards the Winchelsea Island Group 
"Crash Corner" is directly above the "NE" in the above caption...Our first attempt at summiting DeCosmos left me with months of physiotherapy, and Andy with a damaged bike...You can read about that and see the route here...De Cosmos, De Crash and De Lesson...  You cannot get to this peak from the Crash Corner route (without a fair hike), but it's just possible you might be able to hike up to the "other" DeCosmos peak from the end of that road.

The Park 'N' Climb Spot...  Ready to Head Back
Shots of the riding conditions and what you can expect to encounter (surface quality and terrain) referring to numbers from the map:

Above - Between 6 and 7: The hydro-line trail was as usual dry and easy


Between 7 and 8 - Above and below - the trail connecting the hydro lines to the Hellevator can be fast and smooth, but is littered with boulders from winter runoff.  It seems longer every time we ride it!

Between 8 and 9: this gate was open in July.  The workaround is simple - the strange little gatekeeper sliding down the bank from his cave on high - directed us to the workaround (he's standing on it).  As we rode around, he slapped his leg and laughed, explaining that the joke was on us, as the gate wasn't locked!  "What's the point?!" we retorted.  He simply placed his index finger to his temple and replied cryptically that, "Tim Berwest works in mysterious ways."
Close to 9: almost there.  Look at that surface!  Dirt bike Nirvana!
8...Descending the Hellevator...You may be able to click and improve resolution, by clicking the settings button...

Track available HERE.
Fantastic ride!  If you decide to follow our track, make sure you wear a bright orange shirt so you can attract as many wasps as possible while on the summit.  This is particularly important if you want wasps to cluster around your sandwich and water bottle.  ;)

His nibs, replete in luminous orange insect attracting shirt (snicker), directing wasps, horse flies and various other biting insects to "Sit".  It must be the altitude.
EDIT:     Ah, here we are.  The proof:  "I command you to SIT!"